

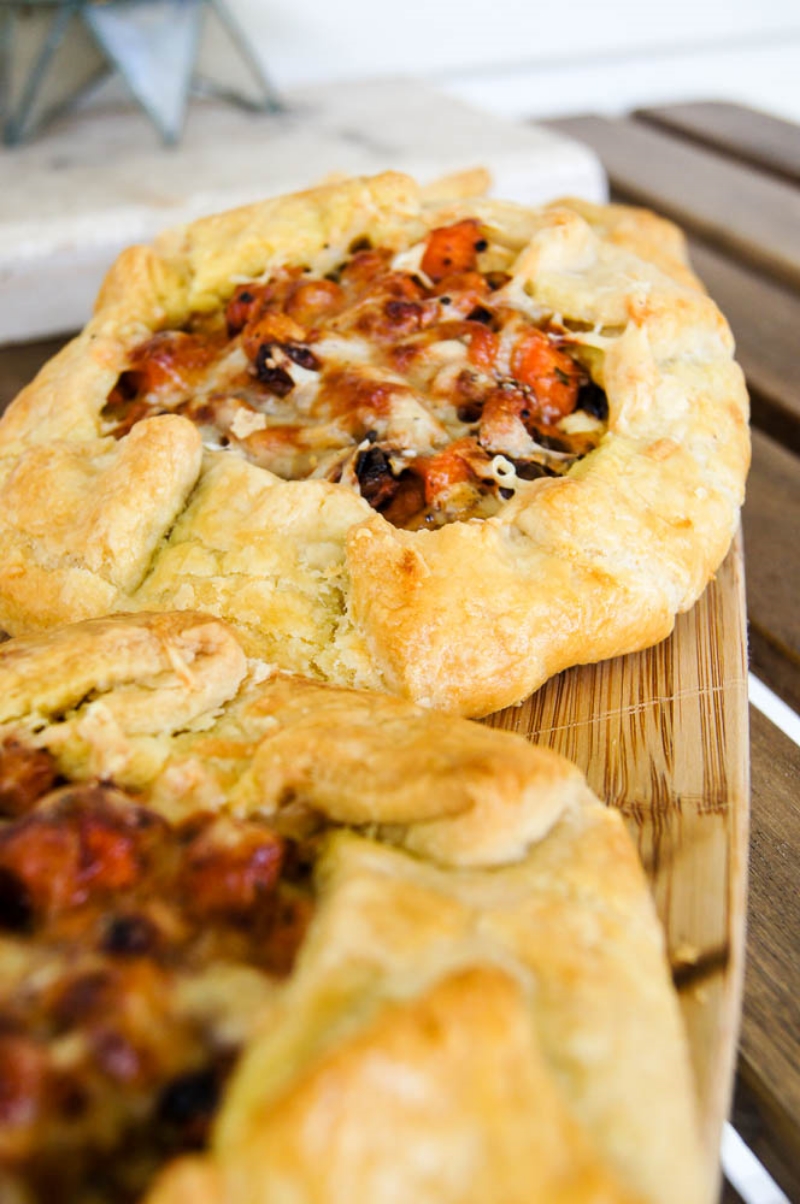
MINI CARROT GALETTE WITH RICOTTA
Did you know that November is National Pepper Month? It’s also Peanut Butter Lover’s Month and another quick fact, In 1989 North Dakota and South Dakota became the 39th and 40th state of the US, followed by Montana as the 41st. It’s also World Vegan Month. Who knew?
But nothing takes center stage for what the month of November really stands for – the biggest food fest of the year – Thanksgiving. And if there ever was a season for pies to shine, November would be it.
Unlike my husband that falls under the “I love pie” group (than man can eat pie!) – I really never care for it and to be honest, I never even made them until Tom came into my life and started to request them. In the last 6 years, I made too many pies to keep track of. Tom, will tell you, I have not made enough – but then, he can never have enough pie.
So, when a couple of months back I was approached by a Quirk Books publicist with an offer to help promote Russell van Kraayenburg new book: Making Dough: Recipes and Rations for Perfect Pastries and join their Making Dough Challenge, I jumped at the chance. And Tom screamed like a girl – MORE PIE!

Making Dough is all about demystifying dough-baking. The book provides twelve simple dough recipes—twelve simple ratios— and provides over 100 pastries, using five essential ingredients—flour, butter, water, sugar, and eggs.
This is a pretty book and not too heavy. Is hard bound on excellent paper, and has a solid nice binding, one that will hold after numerous uses.
In my opinion it’s also the perfect book for beginner bakers. Russell’s writing style is a win-win all around - full of ingredient ratios; easy-to-follow instructions; illustrations and tips for dough-making; and recipes for turning each type of dough into delicious pastries. I have quite a few marked off to try.
The first part of the book, "Getting Started" includes the following: What is Dough, Getting Started, Measuring, Ratios, Ingredients, Tools, Mixing Methods, Tips and Making It Your Own. The other chapters in the book are dough recipes, including Biscuit, Scone, Pie, Shortcrust Dough, Sweetcrust Dough, Pate A Choux Dough, Brioche, Puff Pastry, Danish, Phyllo, and Croissant.
I choose the Pie dough as my challenge and I knew I wanted to make a savory pie, instead of a sweet pie. I started to think about what is a typical Thanksgiving fare and as I pictured those dishes, the light bulb went on. And I had my filling.
Carrots! Usually served as side root vegetable medley, or roasted dish, I started to put this together in my head and I have to say, the end results came out better than I had imagine.
The pie dough was easy to put together. My only learning curve – Russell’s use of ounces, instead of grams. But, it was no biggie, it made me appreciate, my super-duper scale that can switch measurement units. He gives you both method of mixing – by hand or using your food processor. I use the food processor method – because, who still does pie dough by hand? And it came together in less than 5 min – the longest part of the pie dough making process was the resting period.
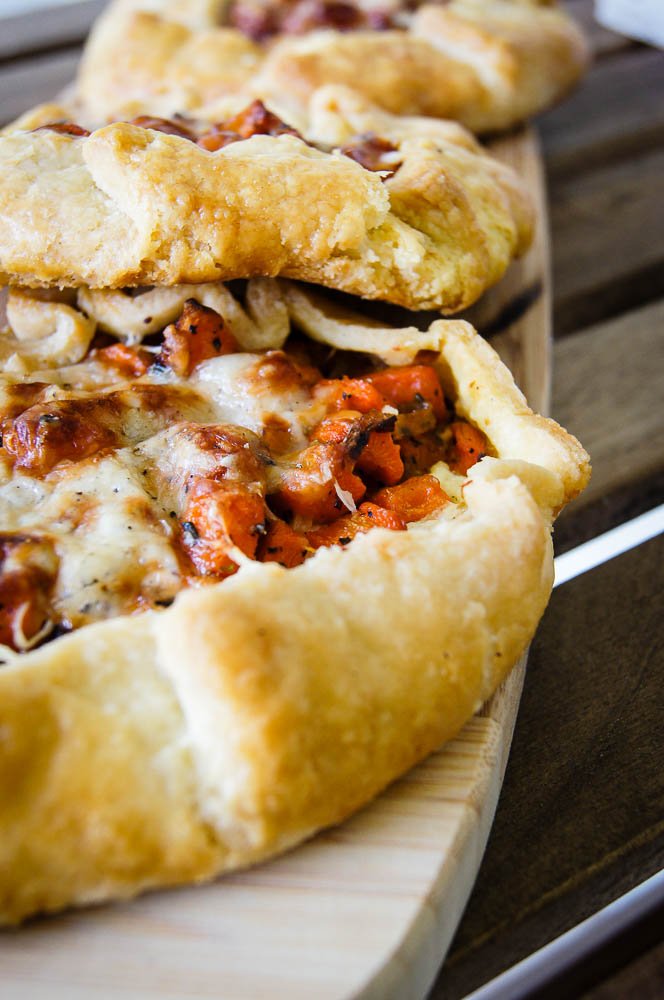
The dough was a dream to roll out (seriously, like Play-Doh) and it baked up into a tender, buttery, flaky crust. I was so happy with the crust, that I made it again the next day just to make sure it was NOT beginner's luck and voila, consistency won out, because it came out just as good the second time around. I may confirm, that this is about to become my go-to crust recipe for, well, just about anything I need a crust for.
Better get started on your first batch.

MINI CARROT GALETTE WITH RICOTTA
Makes 3 medium size Galette
Equipment:
Baking sheet, cover with parchment paper or Silpat baking mat
Pizza/Baking Stone*
PIE DOUGH
Makes: 1 lb of dough, enough for a 9” inch pie
6 ounces bread flour
2 ounces cake flour
1 teaspoon salt
7 ounces (14 tablespoons) unsalted butter, cold
¼ cup water
Food Processor Method
Pulse flours and salt in the bowl of a food processor 2 or 3 times to combine. Chop butter into ½-inch cubes and add to the flour mixture. Pulse for 1 second (about 8 times), until butter is in pieces about the size of large peas. Add water and pulse 3 to 4 times, until dough begins to come together. It may remain in a few large chunks.
Place dough on a lightly floured surface and push chunks together. Knead 4 to 5 times, until it holds its shape. Flatten dough into a disk about 1 inch thick. Wrap tightly in parchment paper and let rest in the refrigerator for at least 1 hour.
Prepare your filling
CARAMELIZED CARROTS FILLING
4-5 carrot
1 onion, diced
1 leek, cleaned, and slice
3 tablespoons of butter
2 tablespoons of chopped fresh rosemary (or thyme)
1 tablespoon of olive oil
salt and fresh ground pepper, to taste
TIP: Prepare all your ingredients ahead of time, once you start cooking the dish it comes together pretty fast.
Peel carrots and cut into cubes, you should have about 1½ cups.
Thinly slice leeks. Use white and light green parts of leeks, put aside.
Do the same with your onions and fresh rosemary (or thyme)
Heat 2 tablespoons of the butter in a large skillet over medium heat, when butter is bubbling, drizzle a bit of olive oil and add the leeks and onions. Season with a bit of salt and pepper and continue to cook for about 2-3 minutes, stirring frequently.
Add your carrots and again stir everything to combine and coat with the butter/olive oil mixture. Again, season your carrot addition by sprinkling some salt. Spread around the sauté pan covering the whole area.
Now, the good part - leave it alone for a bit, no stirring – you are trying to caramelize them and the only way to accomplish this, is to not touch them for a bit, make sure you are nearby and after about 3-5 min, toss them about. You will start to notice that the carrot will start to show a deeper orange color and some of the edges start to brown (this will happen to the onions and the leeks as well). You want to make sure nothing burns, so keep an eye on it, but let the butter/oil continue to create that amazing caramelized action. If you notice your pan drying out, add the last tablespoon of butter and continue to cook – tossing all ingredients around.
Taste the carrots, they should still have a bite to them, if needed – season by sprinkling salt and ground fresh pepper. Taste again and adjust. At this point add the chopped fresh rosemary, and stir. Remove from heat and put aside to cool a bit before you add them to the rolled pie dough.
Prepare your Ricotta filling
RICOTTA FILLING
½ cup of whole milk ricotta
2 tablespoons of Parmesan cheese
1 lemon grated zest
1½ cup of Gruyere cheese – grated (½ to be use in the filling, the 1 cup to top the Galettes)
salt and fresh ground pepper, to taste
In a small bowl, add the ricotta, Parmesan cheese, lemon zest and ½ cup of Gruyere cheese. Mix until combined, taste and season with salt and ground fresh pepper.
To build the Galettes:
Rearrange your racks to be closer to the bottom of your oven, if you are using your pizza/baking stone, place on top of the rack and turn your oven to 400°F.
Prepare your baking sheet by either lining it with parchment paper or a silpat baking mat.
Roll out your pie dough on a lightly floured work surface to ½ inch thick, using a plate or freehand (its ok, this is a rustic Galette) to guide you in cutting 3 circles and one by one move to your baking sheet.
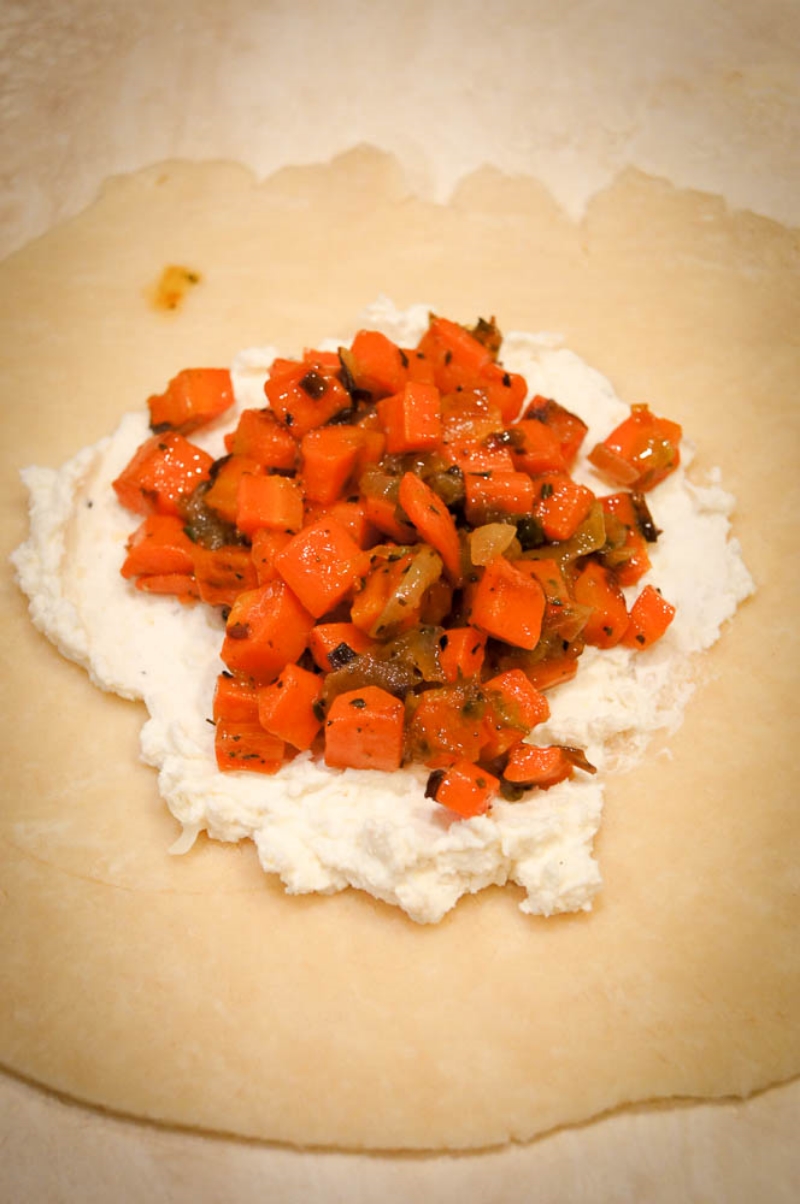
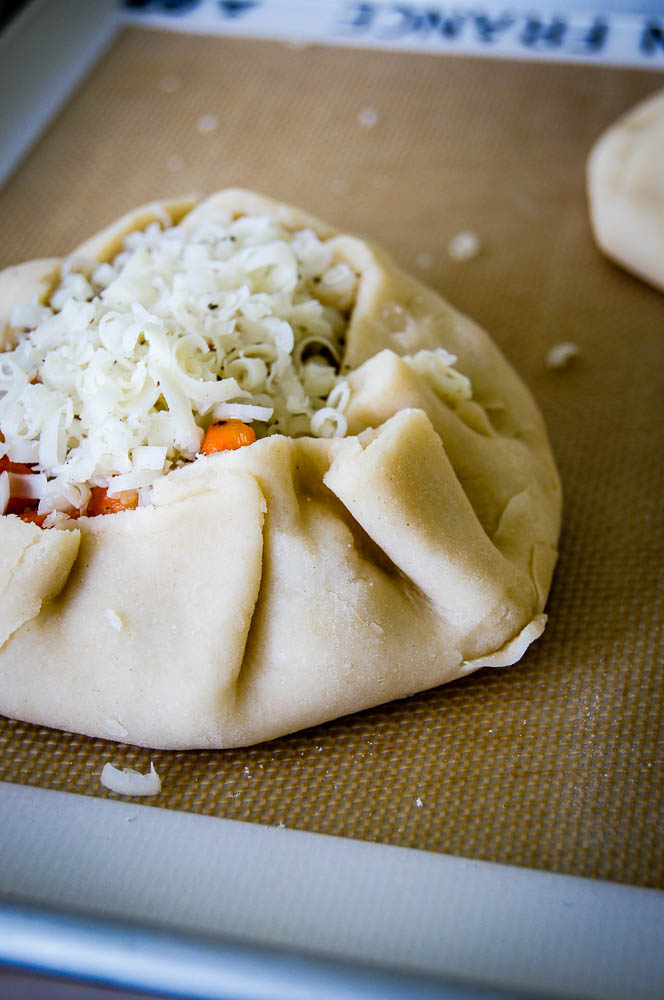
Spread the ricotta filling in the center of your circle, leaving about 1-inch border. Top with your carrot mixture, and then sprinkle more Gruyere cheese on top. Fold the border over the mixture, pleating the edges to make it fit – center will be open. Do the same with the other two dough disk – you should end up with 3 medium size Galettes on your baking sheet. If you have left over cheese, sprinkle more on top.
Finish with beating a whole egg and using a pastry brush, coat each Galette with the egg wash.
Now put the whole thing in your freezer for about 30 min - this is my go to trick, this will firm up the dough and your pie will hold their shape better as they bake.
Place your baking sheet on top of the pizza/baking stone and bake for about 20 min. Reduce temperature to 375°F and bake another 25 minutes, until crust is golden brown.
Remove from oven and let it cool before serving.

They are best at room temperature and at Casa P, we actually loved them cold, which, makes them the perfect picnic hand pie. Be sure to check out my fellow bloggers who participating in this #makingdough Challenge.